How to secure AWS API Gateway with Cognito
Learn how to secure AWS API Gateway with Cognito. This guide covers setting up a user pool and configuring the API authorizer for enhanced security
AWS CLOUDCLOUD COMPUTINGSERVERLESS
In this blog post, we will explore a step-by-step process for safeguarding your API or application by securing the AWS API Gateway with Cognito.
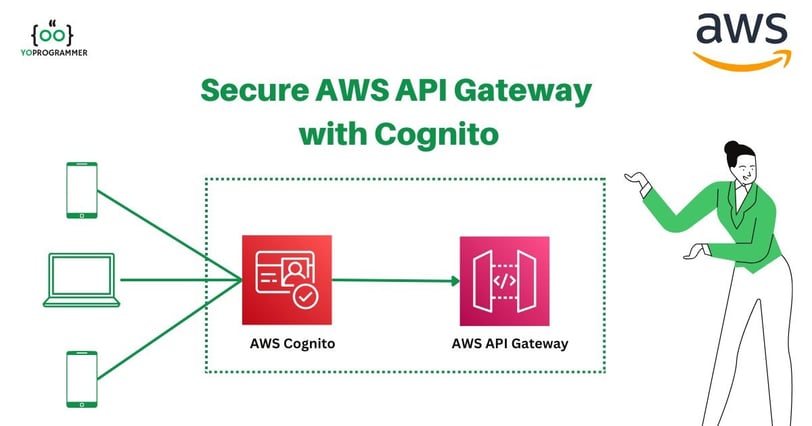
AWS API Gateway and Amazon Cognito provide a scalable, secure solution for managing and exposing APIs to external clients. They enhance security by implementing robust user management and access control mechanisms for your APIs.
Before diving into the implementation, let's briefly explore the key components we'll be working with.
What is AWS API Gateway?
Amazon API Gateway is a fully managed service that makes it easy for developers to create, deploy, and manage APIs at any scale. It allows you to create RESTful APIs integrating various AWS services, including Lambda, DynamoDB, and others. With API Gateway, you can control access to your APIs, monitor usage, and handle errors and caching.
What is Amazon Cognito?
Amazon Cognito offers a secure, scalable user authentication solution through Cognito User Pools, enabling developers to add user signup, sign-in, and access control to mobile and web applications.
With AWS Cognito User Pools, developers can create custom authentication workflows, choose from various sign-in methods like email, phone number, and social IDPs like Facebook, Google, and Amazon, and manage user profiles, attributes, and passwords. The service also provides features for multi-factor authentication, account verification, and password policies.
AWS Cognito User Pool integrates with other AWS services, including AWS Lambda, AWS API Gateway, and Amazon S3, making it easy to build scalable and secure applications on AWS.
Additionally, it supports standards-based authentication protocols like OpenID Connect and OAuth 2.0, enabling developers to integrate with third-party identity providers and securely share user identity data between applications.
Architecture Flow for AWS API Gateway and AWS Cognito Integration
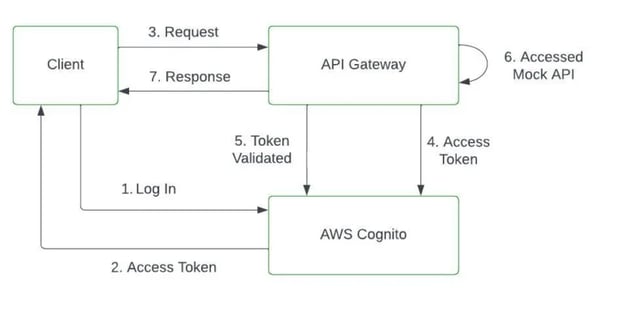
Below is the architecture diagram for AWS API Gateway and Cognito Integration
A client sends an API request: The client, such as a web or mobile application, sends an HTTP/HTTPS request to the API Gateway to access a protected resource.
API Gateway checks for authorization: It examines the incoming request and validates whether it requires authorization. If the request requires authorization, the API Gateway proceeds to the next step.
API Gateway invokes AWS Cognito: The API Gateway invokes AWS Cognito for user authorization
AWS Cognito validates the request: AWS Cognito receives the request from the API Gateway and validates it based on the provided access token or other credentials. It verifies the token's authenticity, checks its expiration, and verifies the signature.
Token validation response: AWS Cognito responds to the API Gateway, indicating whether the provided access token is valid.
API Gateway makes authorization decisions: Based on the response from AWS Cognito, the API Gateway makes an authorization decision. It allows the request to proceed if the token is valid and the user has the required permissions. Otherwise, it returns an authorization error response.
API request processing: If the request is authorized, the API Gateway forwards it to the backend service responsible for processing it.
Step-by-Step Guide: Secure AWS API Gateway with Cognito
Let's walk through the steps to secure AWS API Gateway with Cognito
Step 1: Create a Cognito User Pool and App Client
Log in to your AWS Management Console, navigate to the AWS Cognito service, and click "Create a User Pool

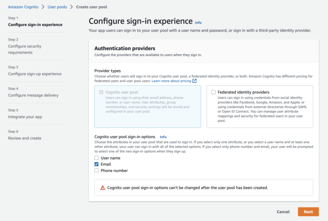
Choose the provider type you want to configure for your client for signup and sign-in options you want to allow for your users, such as email, phone number, or social identity providers like Facebook or Google.
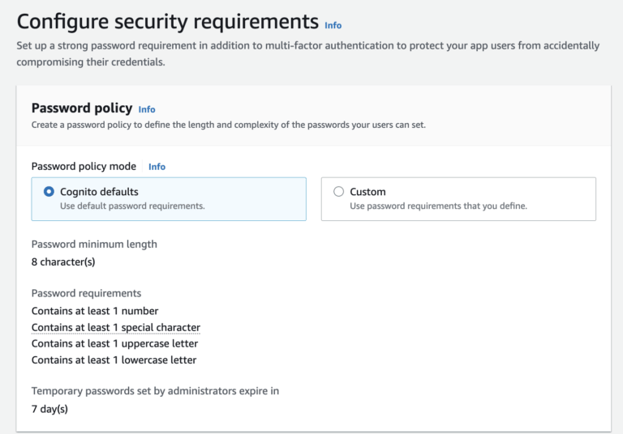
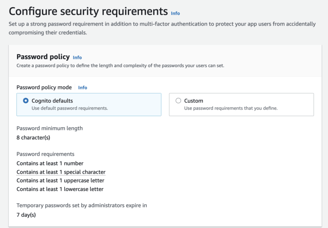
Configure your password policies and multi-factor authentication options, such as SMS or Account recovery.
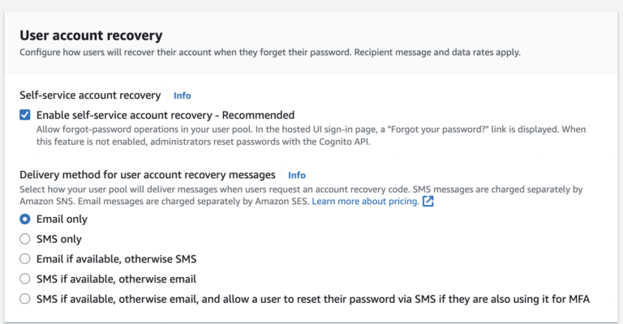
Configure account recovery settings for a user

Keep attribute verification and user account confirmation, and use self-service signup to default settings
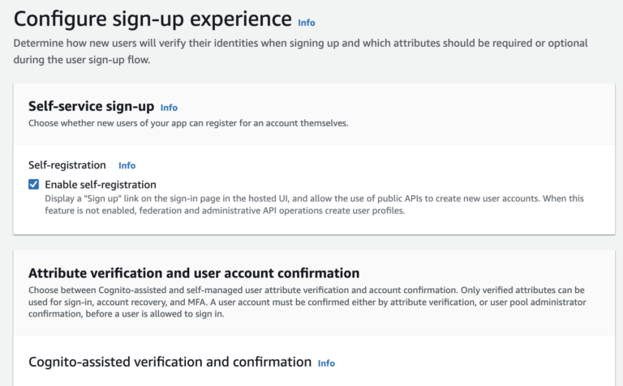
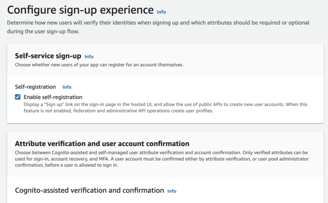
Define user attributes, such as username, email, and phone number, and customize the attribute validation rules.
Customize your email and SMS templates for user communication, such as welcome emails and verification codes.
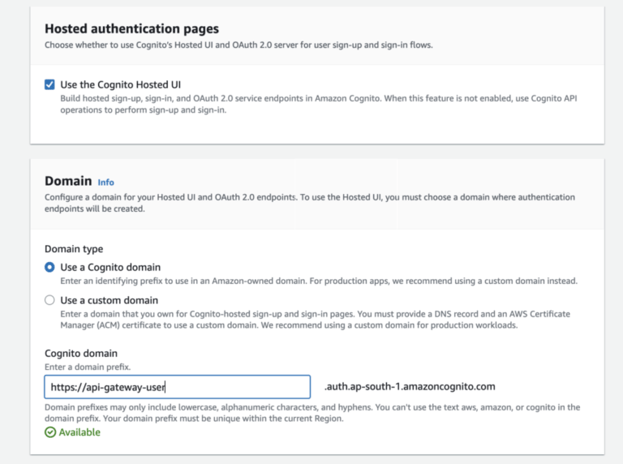
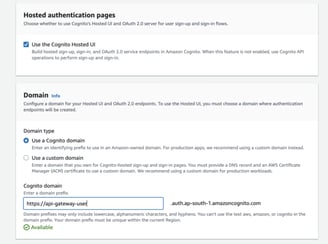
Provide your User Pool Name, and check the box for Use the Cognito Hosted UI to utilize the Cognito UI Signup/Sign-In Page.
Under Domain, select Use Cognito Domain and provide the domain prefix.
To add an initial client, select Public Client.
The public client is the User-facing App.
Confidential Client - Client Services running in your environment and no user-facing involved
Other: if you want to implement your custom OAuth grants, etc

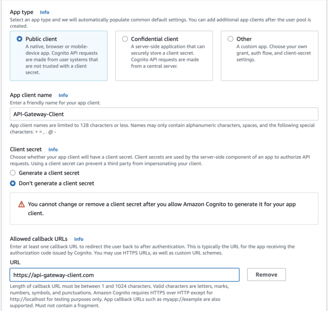
It would help if you did not generate the Client Secret for Public Clients, as User-Facing apps must not have sensitive data.
Provide the Callback URL where you want to get your access token returned.
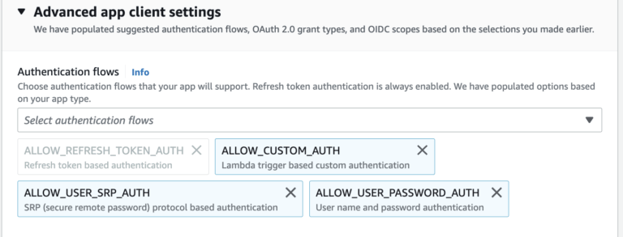
Expand Advance app Client Settings and
Keep everything default for now.
Ensure 'Cognito user Pool' is selected for an Identity provider.
Select Implicit Grant for 'OAuth 2.0 grant types.

Review your settings and create your Cognito User Pool.
Step 2: Create a REST API in API Gateway
From the AWS Management Console, navigate to the API Gateway service and click the "Create API" button.
Select the "REST API" option and choose
Protocol - Select REST and Select' New API' for this tutorial.
Provide the API Name, Description, and the type of endpoint you want to create (e.g., Edge-optimized, Regional, or Private).
Click "Create API" to create your new API.
Click on Action Drop Down and select “Create Resource” to create a new resource for your endpoint.
Enter a name for your resource and click “Create Resource.”

Click on "Create Method" and select the HTTP method you want to use (GET, POST, PUT, DELETE, etc.).
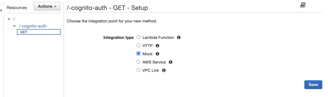
Create GET Method
Select Integration Type as 'Mock' since we will mock the endpoint without real integration.
Click Save
From the Left Navigation Bar, navigate to Modals. Click on "Create" to create a mock modal.
Model Name: SuccessModal
Content-Type: application/json
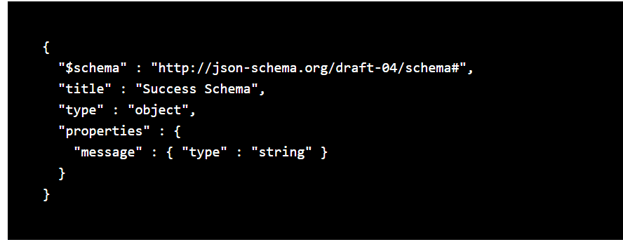
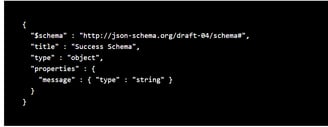
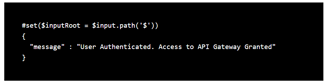
For Model Schema coy below content
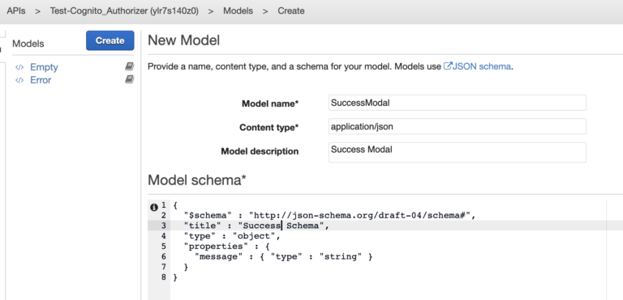
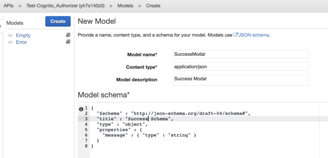
This is a JSON Schema for Success Modal where we return a success message if everything works fine.
Please navigate back to the Method we created earlier and click Integration Response.
Expand the existing 200 responses and expand the Mapping Template. Click on Adding Mapping template
Add application/json in the text box
From Generate Template Dropdown, select SuccessModal and copy the below content
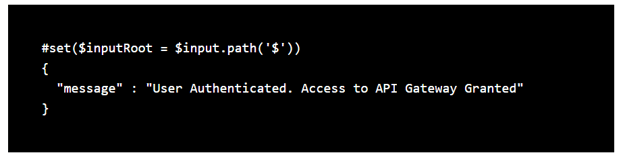
Click “Save” to save your changes.
Deploy your API to a stage, such as “prod” or “dev”, by clicking on the “Actions” dropdown menu and selecting “Deploy API”.
Choose the stage you want to deploy to and click “Deploy”.
Step 3: Configure API Gateway with Cognito Authorizer
Open the API Gateway console and select your API.
Select the "Authorizers" option from the left-hand menu.
Click the "Create New Authorizer" button.
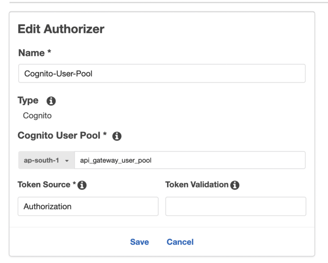
Choose Amazon Cognito User Pool as an authorizer. From the dropdown menu, select the user pool you have created.
Provide the name, and in Token Source, add "Authorization."
Save the authorizer configuration.

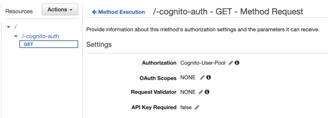
Navigate to the Resources section to the GET request created.
Click the Method Request link.
Choose My Authorizer as the Authorization setting. If it is not an option, refresh the page first. Remember to click the v-icon; otherwise, the change is not saved.

Deploy the API again to implement the changes
Step 4: Test the Integration
Go to AWS Cognito and select the previously created App client. Scroll down and click on View Cognito's Hosted UI.
Sign in using the user credentials you created earlier. You will be redirected to the callback URL you configured, which contains some extra parameters. Copy the value of the ID token.
Navigate to the API Gateway service to your API. Select the GET method of the stage you deployed in the Stages section.

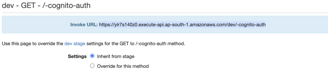
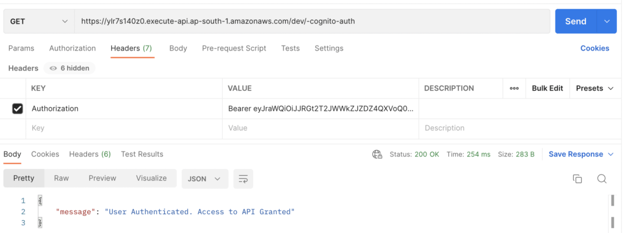
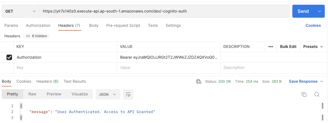
Here is your stage's URL. Copy the URL and paste it into POSTMAN. In the header, add the copy value of the token under the header "Authorization."
You will get a Success Response along with the message we created
Conclusion
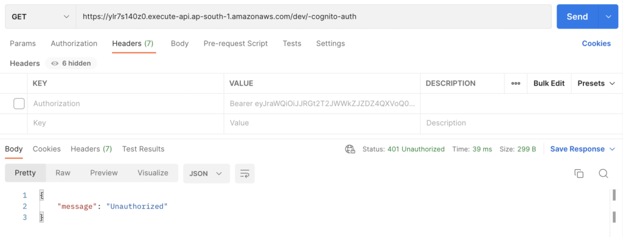
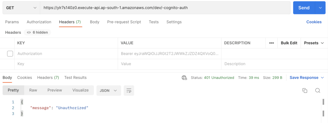
You must provide the token or an incorrect token to receive an access denied message.
With this, you have successfully Configured and Tested API Gateway, which serves content only to the Authenticated users in the Cognito User Pool.